Saturday, April 19, 2025

American Girl Doll Jumpers!

I had to try the jumpers!  In the Molly clothing pattern set there was a plaid jumper with a long sleeve blouse.  That was fun to do!


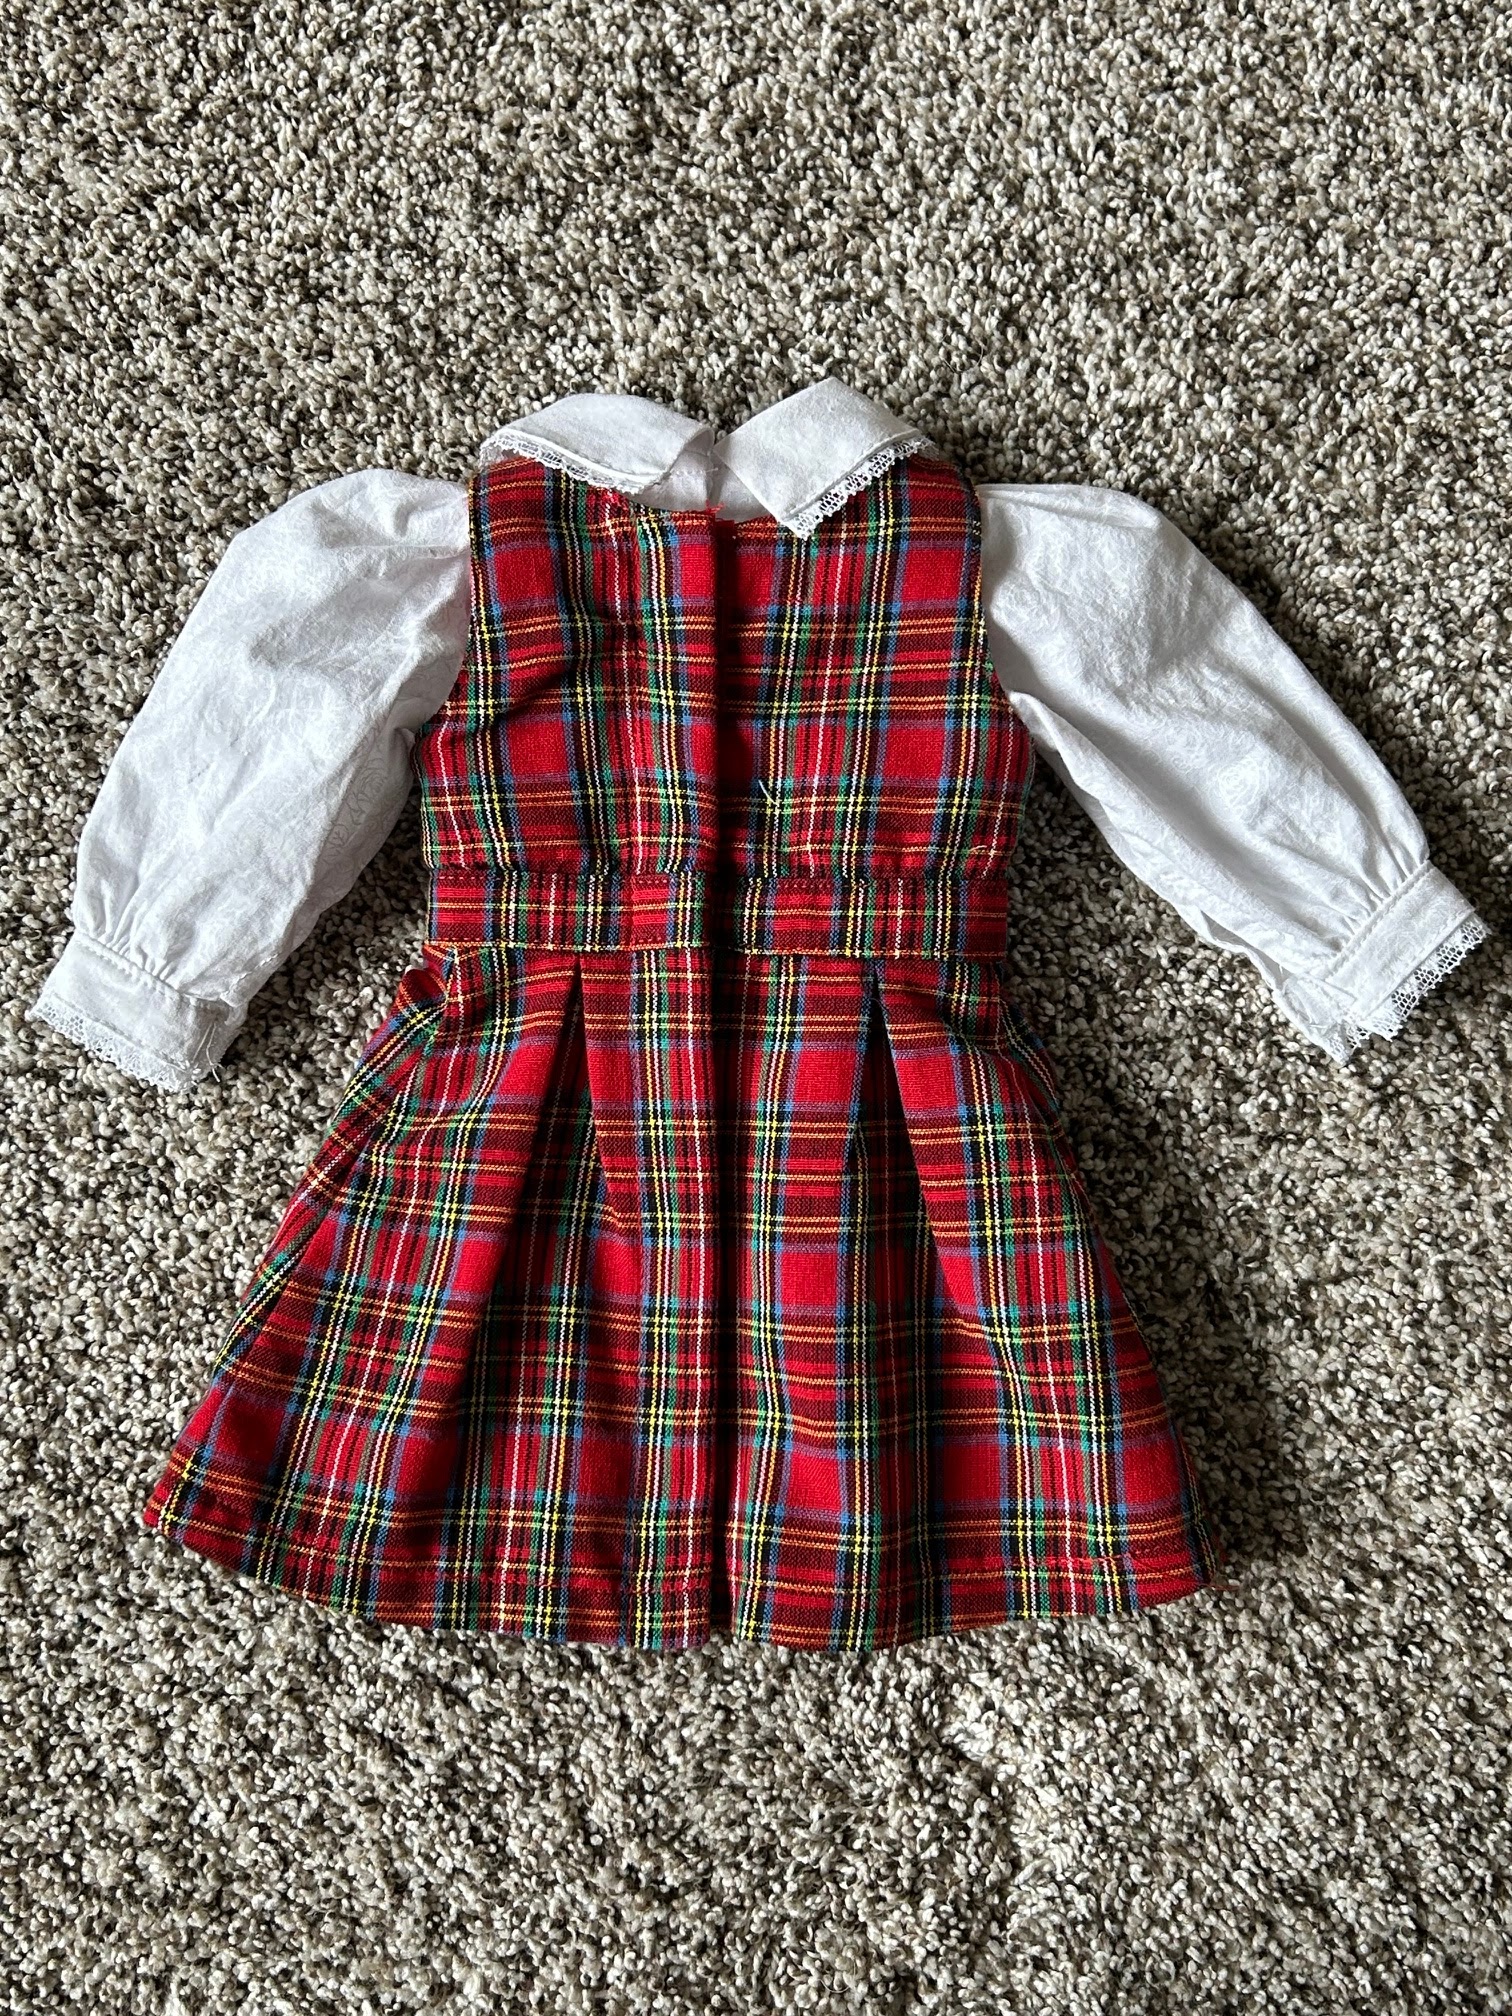
Front and back views of the ensemble.


The collar was a fun addition.  I tried putting the lace into the seam but found that it was hard to keep even on such a small scale.  It turned out easier to hand stitch the lace onto the back of the collar, then topstitch it into place.  I could control the gathering to conform with the curved shape that way.  I only stitched the lace onto the curved edge of the collar, not the back side.  


The sleeves were very fiddly with the small wrist placket.  Not fun.  I cut out a white and a cream colored shirt and really didn't enjoy those plackets.  


I lined the bodice of the jumper-- this made it easy to finish the raw edges.  I slipstitched it down and topstitched it at the waist.  

I finished this brown plaid jumper with the cream shirt.  I widened the waistband to see how it would look.  I think it is too wide, so I narrowed it down some for my next try.


The waistband on this blue floral jumper is still too wide for my taste.  I should have stuck with the original Molly pattern.


For this blouse, I added lace onto the button band and eliminated one button.  Both buttons barely show when the jumper is worn over it.


I also simplified the sleeve hems into simple elastic gathers.  To do this, I lengthened the sleeve and eliminated the plackets.  I hemmed the sleeves with lace and then gathered about one inch above the hem using zigzag stitch across stretched 1/4" elastic.  

This experimentation opened up some new ideas for dresses.  I'm having a blast!!!


Basic 18" doll dress pattern

 The bug had bitten me hard!  Now I wanted to make a bunch of dresses with a standardized pattern.  I took Kristin's apron dress and I modified it to stand alone.  The apron dress has wide shoulders to accommodate the apron overlaying it.  This created a strange, flattened pattern piece for the sleeves.  Using my patternmaking skills, I drafted a more standard sleeve piece and removed the excess shoulder fabric in the bodice pieces.  I also simplified the sleeve and the 3 skirt pieces into one piece.  Then I experimented with this pattern.  Here's the first dress I made with it.  


I embellished it with some cute floral lace on the sleeve edges and near the hem.  

 I serged and turned the neckline in the blue dress above and ended up topstitching it also.  Very fiddly.


In this red dress, I trimmed the waist with rickrack and a grosgrain ribbon.  The sleeves and neckline are trimmed with rickrack and turned to hem.  

Finishing the neckline was always a gamble.  Either I used rickrack along the edge to turn it or just clipped and serged the edge and topstitched it.  This sometimes created holes in the neckline, which I felt would be a weakness especially in doll clothing. I really disliked these ways to finish the neckline, so I looked into using a bias binding there instead.  This was fabulous!  Here's the result in this dress:

Not many frills here, but a good solid dress pattern.  

For ease in dressing the dolls, I finished the back of all of these with 3/4" velcro-- the hooks on the underlap right side and the fuzzy side on the overlap left side.  This is when looking at the dress.  You always want the hook side facing away from the body, at least in humans.  


Linda's Caftan for 18" dolls

 One of my fondest memories of my mom is her wearing a caftan around 1975.  She looked so great in it!  I bought the pattern a few years ago and made myself a few, which I love to wear and remember her.

If I can adapt a pattern from a size 12 to my size (not saying size) I may be able to make a pattern for an American Girl doll.  

Using the apron dress as a template, I came up with the caftan dress pattern.  I LOVE IT!  Here's the result:


This is my Mom wearing her caftan for Easter 1975.

Here's a close up.  


Underwear for 18" dolls

 Since my granddaughters scandalously thought my dolls were not wearing underwear (since they had bloomers on, which they thought were 'shorts') I decided to make some undies.  

Taking the pattern from Molly's dresses, I modified it to look more like contemporary underwear.  This is how they turned out.

The upper pair is what the Molly pattern made.  My adaptation is the lower pair.  After perfecting that pattern, I went a little crazy and made up a bunch of them.  My granddaughters took most of the home.  


Kristen's Apron Dress

 After making the colonial dress, I bought more patterns.  This was the next dress I made.  I also made some bloomers, although my granddaughters think they are shorts.  That will be the subject of my next post...

This is the dress with the apron.

The dress is cute by itself too.

Here's the dress and bloomers.


American Girl Doll Clothes

I've got a new hobby!  I made up a few American Girl doll dresses after seeing my granddaughters playing with these dolls and I'm hooked.  I've now purchased several 18" doll patterns and have made up several more dresses.  

This is the first one I made.  It's a Colonial dress that I found a pattern for on Etsy.  


Monday, July 17, 2023

Twin Baby Blessing Rompers

 It's been toooo long since my last post.  But with some encouragement, let me share my latest creations:  Blessing outfits for twin boys!

My most recent grandchildren are twin boys.  Beautiful little ones!  I offered to make their blessing outfits.  Their mother chose this pattern after seeing the many I had access to.  I was so glad-- such a cute pattern!  I should have taken a photo of the whole pattern.  But this is the view.


I wanted to make them out of seersucker fabric.  I had some blue and green -- the colors her boys were using to differentiate themselves from each other.  I needed to get more white because there was so much white in the pattern.  My closest JoAnn's didn't have any seersucker in stock but I found some vintage seersucker on Ebay and promptly ordered it.  

I decided to use a white poplin for the bodice lining, which I had on hand.  I cut out and began to put them together.  I used the colored seersucker for the accents on the collar and the suspender straps. I attached them first, then stitched the shoulder seams. Once I made the collars, I pinned them to the neckline and basted them on.  Then I attached the lining at the center back and around the collar.

I topstitched the accent pieces onto the sleeve and attached each sleeve to the armscyes.  This photo shows how they were pinned on with the lining moved out of the way.


Once the sleeves were put on, I was able to stitch the side seams and hem the sleeves.  I trimmed and graded the seam allowance, and whip-stitched the lining into the armscye.  The waistband in the pattern was actually like a separate belt, but I wanted it attached at the waist.  So I folded them in half and topstitched at the fold.  Then I basted them in at the bottom of the bodice matching the circle markings. 

I followed the directions to make the pleats in the pants part, but didn't like how they looked.  The instructions were to fold the tucks in place and baste them.  That looked sloppy.  So I stitched the pleats together like darts and then basted them.  It looked so much better.  I also gathered the pant legs and added the ankle cuffs.  It's turning out so nicely!

I pinned and stitched the pants to the bodice, excluding the lining.  They are looking good!

Now all they needed are the snap tapes at the crotch.  The outie side goes on the front and the innie side goes on the back.  And you stitch it on and wrap it to the other side and topstitch it into place.  With that done, the inside needs to be hand stitched to close up the lining.
Looked for good matching buttons-- found some at JoAnn's.  Here are the boys in their little blessing outfits!  

So happy I was able to have this part of this special day!